Accessing a steam deck remotely can be useful for a variety of reasons: adding files to the SD card, modifying OS settings, general purpose computing, and viewing error logs, to name a few. And while Valve may not be shouting it from the roof top, they’ve made this incredibly easy to do as long as you’ve got a separate computer to work from. This is done via the SteamOS Devkit Client application published by Valve and few additional details just to make things work as well as possible. This software allows you to pair a steam deck to a computer for the purposes of remote control and management: you can change the OS mode, take screen shots, transfer files, access a remote shell, and monitor system performance on a Steam Deck once properly configured. The software is meant to be used by game developers that would like to load their games onto a Steam Deck directly, but can easily do double duty to simplify access for non-devs.
Prereqs
Before you can remote into the device you will need some specific software installed to facilitate the setup.
- The SteamOS Devkit Client software needs to be installed through the Steam Client. You can use this link to directly install the client through the Steam software:
steam://install/943760note: you do not need the server installer, the Steam Deck already has that software pre-loaded. - The open source file transfer tool Filezilla will need to be installed on your computer.
- Your computer and the Steam Deck need to be on the same network. Ideally the Steam Deck should be auto detected with mDNS, however not all networks support that. Retrieve the IP for the WiFi connection on the Steam Deck and have it available to help with pairing. To simplify this you can set the Steam Deck to a permanent IP on your router.
With the above in place there are a few more steps to get everything working.
Pairing
Depending on what OS you are using there’s a few different ways this can go. Starting with launching the devtools application.
Starting the devtools
Unfortunately the client works somewhat inconsistently across operating systems.
In windows you can simply navigate to SteamOS Devkit Client in your software library and hit the Launch button. This has worked as expected each time I’ve launched it.
However on Linux it can get somewhat more finicky. While you can install the application through Steam on Linux, for me at least it does not launch successfully from the Steam client (Fedora 36, KDE, WayLand) however it will happily launch from a command line. Making this work mostly comes down to knowing where the Steam programs are installed on your device, typically this is a hidden folder in your home directory as that is the default. Assuming you are in your home directory and have Steam installed using it’s defaults this command or some similar variation of it will get you up and running: python3.10 ./.var/app/com.valvesoftware.Steam/.local/share/Steam/steamapps/common/SteamOSDevkitClient/linux-client/devkit-gui-cp310.pyz (note: this filename at the end may change as versions update, simply update to the latest devkit-gui python file; additionally python 3.11 does not work so you will need to install 3.10 for this to work)
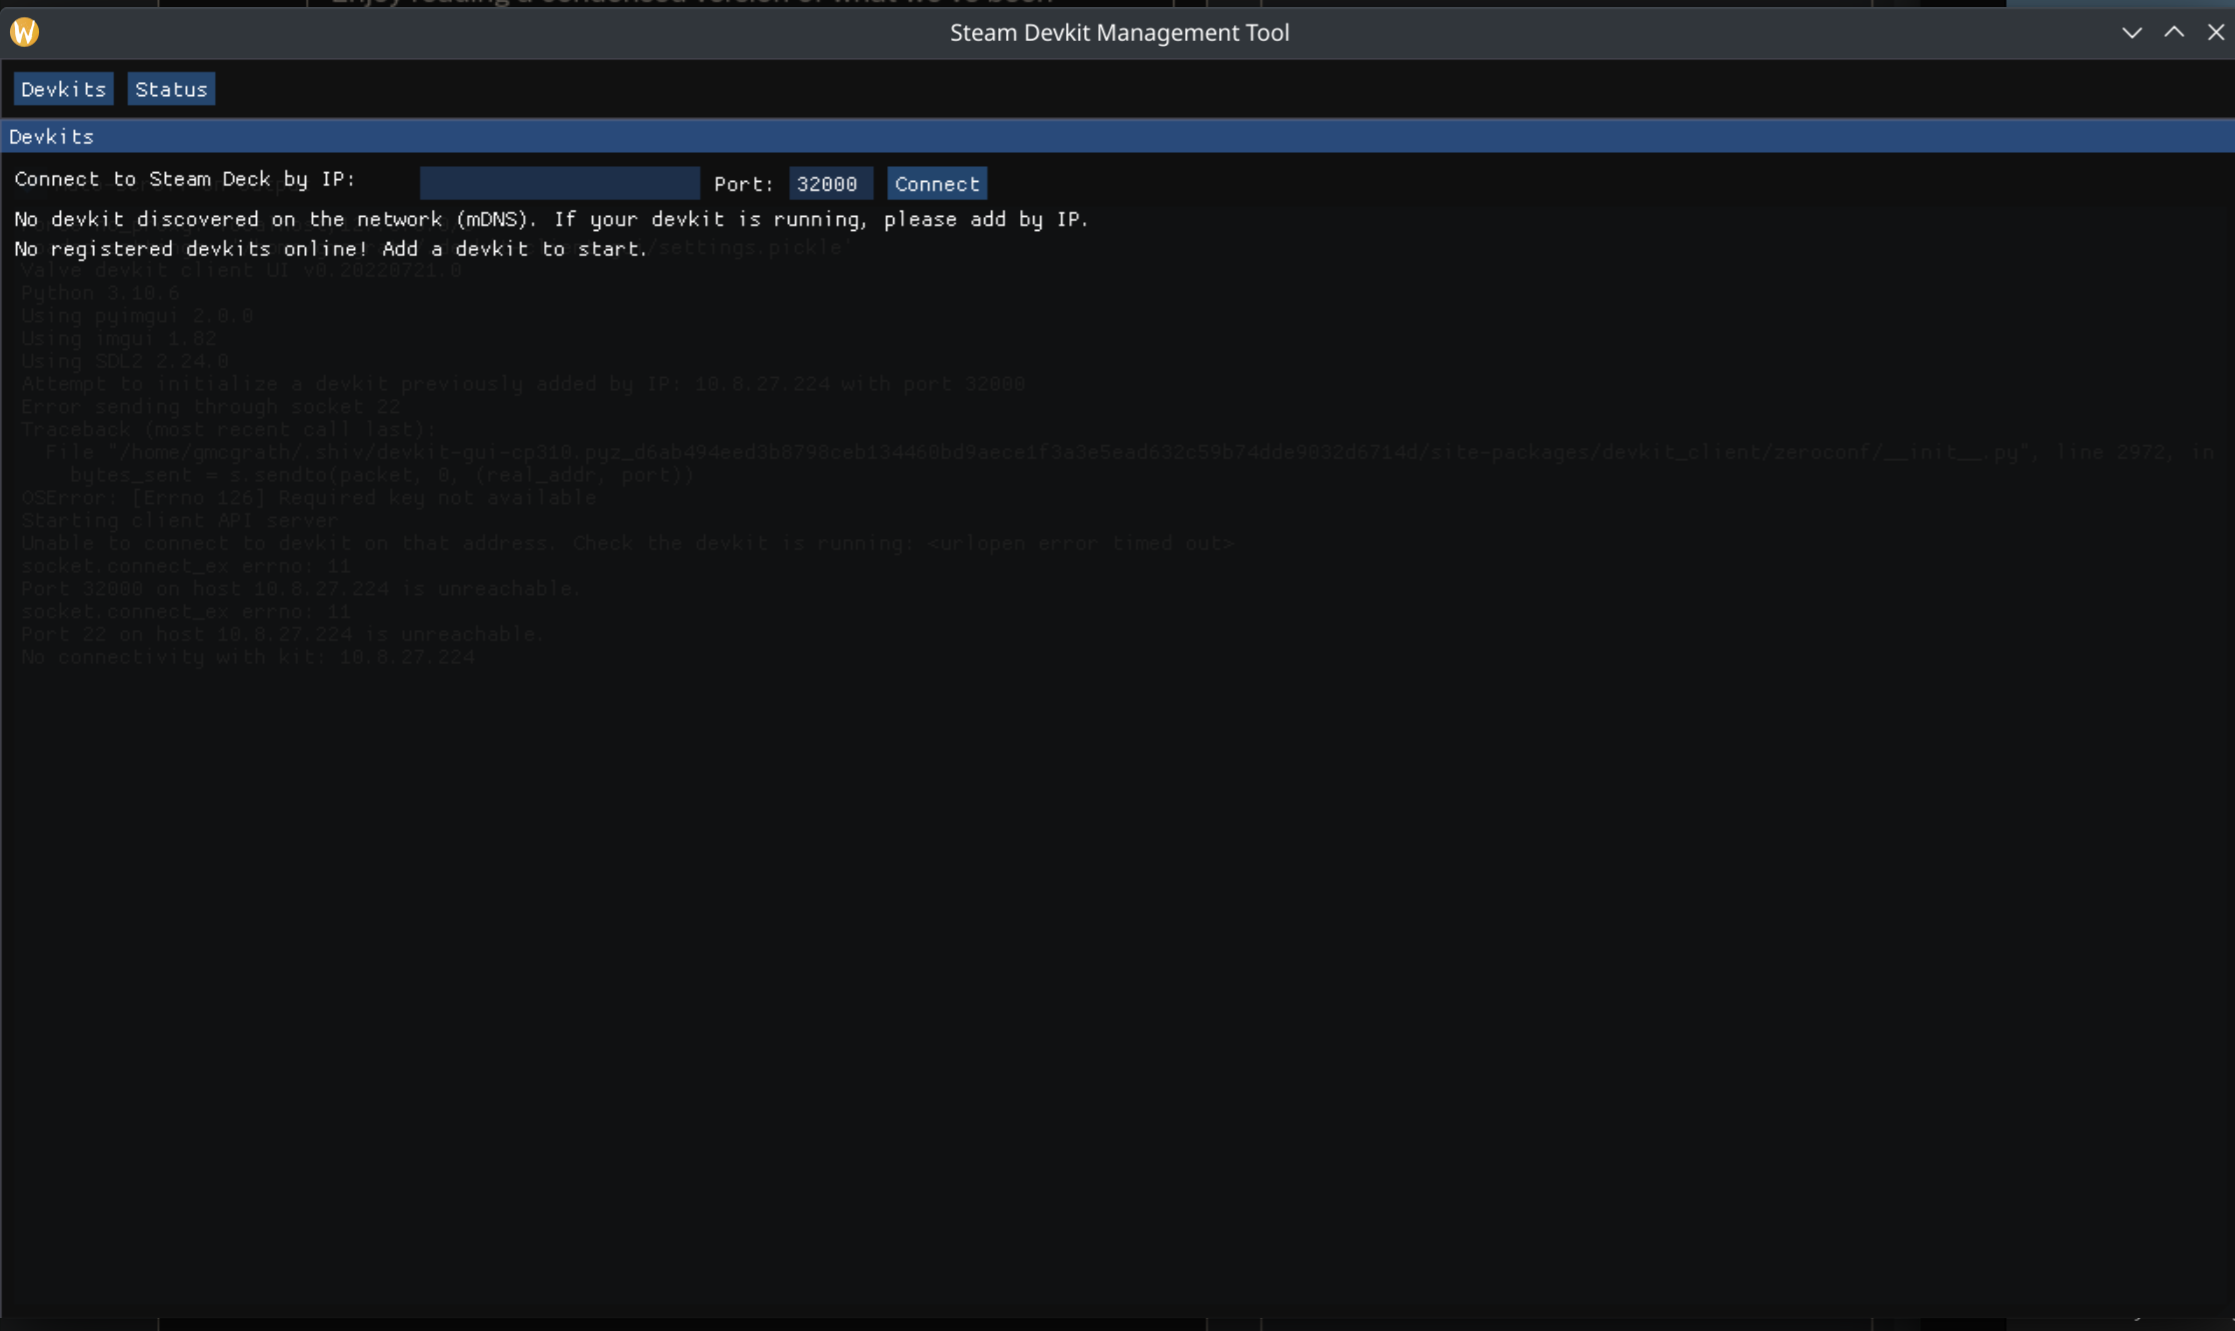
Either way, you should see this screen pop up on your laptop/desktop:
Enabling pairing on the steamdeck
This is actually already enabled out of the box on the Steam Deck, it’s more a question of finding where it lives than anything. If you press the steam button and scroll all the way down to the bottom of the menu there is a Developer pane available. The third button down from the top of this pane will put the device in to pairing mode. Once the device is in pairing mode it should show up automatically in the Steam dev kit client. If it does not show up and you’ve assigned a permanent IP address to the device, simply type that IP into the space that says Connect to Steam Deck by IP and it should connect immediately.
Further Configuration
At this point you should have will have a dump of data and some additional buttons to work with. First thing you’ll need to do is set a password on the device, make sure you record this password in a password manager so you don’t lose it.
After that you’ll be able to use the button Remote Shell to open an ssh terminal on the device. Additionally if you have installed FileZilla properly, when you click Browse Device Files it will launch and ask you for the password configured above. You can also take screenshots directly via the Take Screenshot button, these will go into the folder indicated directly to the left of the button on your local machine, as demonstrated below. If you change the value of Set session to the plasma-x11 option it will swap to desktop mode. Setting it back to gamescope should bring it back to the standard Steam Deck interface but I’ve had some issues with that in the past, it’s better to just use the desktop shortcut from the deck itself. This issue seems to manifest more if you use the plasma-wayland option so YMMV.
An example screenshot captured using the devkit client

Conclusion
At this point the system is yours to muck with, doing so will require some familiarity with Linux that is out of scope for this post. But you now have full file access, so if you want to load the system up with emulator friendly games you can do so via Filezilla. If you want to configure a WireGuard network interface, you can do so from the ssh terminal. All in all this is an incredibly direct way of managing the device and allows you to plumb some of the deeper ‘it really is just Linux under the covers’ details of the machine.
Read more: