Defining the problem space
I’ve been working on digitally ‘battening down the hatches’ a bit at my house and trying to solve some access challenges that have been bothering me. Specifically being able to share access to applications I’ve got running in my home to friends that want to use them (Copyparty, Minecraft, etc.). Initially I attempted to use straight Wireguard to handle this; it’s reasonably easy to use, but debugging other peoples configurations is a fairly huge pain in the ass if you aren’t doing a remote support session with them at the same time. Updating configs is also challenging as it means sending new config files out to everyone, this isn’t a huge deal in a managed environment but isn’t really workable when passing things to people over Discord. So, an alternative solution had to be found.
Changing My Approach
Instead of having them each manually setup Wireguard I decided to finally give Tailscale a whirl and see if I could get it doing what I wanted. This comes with some challenges around the fact that unlike Wireguard itself, Tailscale is not a native interface for VyOS, my router OS of choice. To resolve this you have two choices. The first is to update the ISO image to include the relevant modules; this is non trivial and has been made more complicated with their recent build changes. The second is to use a container. We will be pursuing the second option in this article.
Assumptions
- You have a functioning VyOS install you want to use as an exit node
- You have already setup a Tailscale account
- You understand what a container is
- You have already created a container network in VYos and added it to a firewall zone
- You don’t care about IPv6, I don’t bother including it here as it’s utility is limitted for most people.
- Also, if you do care I assume you can figure out that part yourself
Initial setup steps
The VyOS side of this is drawn from the excellent if brief post on the VyOS forums found here: https://forum.vyos.io/t/tailscale-subnet-router-with-container-networking/15091
While this post is great, it lacks some of the context and ‘why’ for the configs being presented and what you’d need to replace for your own setup.
Required Initial Details
First you will need to gather some specific information needed to get this all set up. I recommend having these written down before hand so you can just plug them in as you go.
- VyOS Container IP:
- This is the IP you’ll use internally on the container network as the IP of your tailscale ‘device’.
- Routes you wish to expose:
- This is the IP ranges you wish to be visible from the Tailscale side. For example if you wanted IPs on
192.168.100.*to be reachable, you’d use192.168.100.0/24(using CIDR notation)
- This is the IP ranges you wish to be visible from the Tailscale side. For example if you wanted IPs on
- A Tailscale auth Key
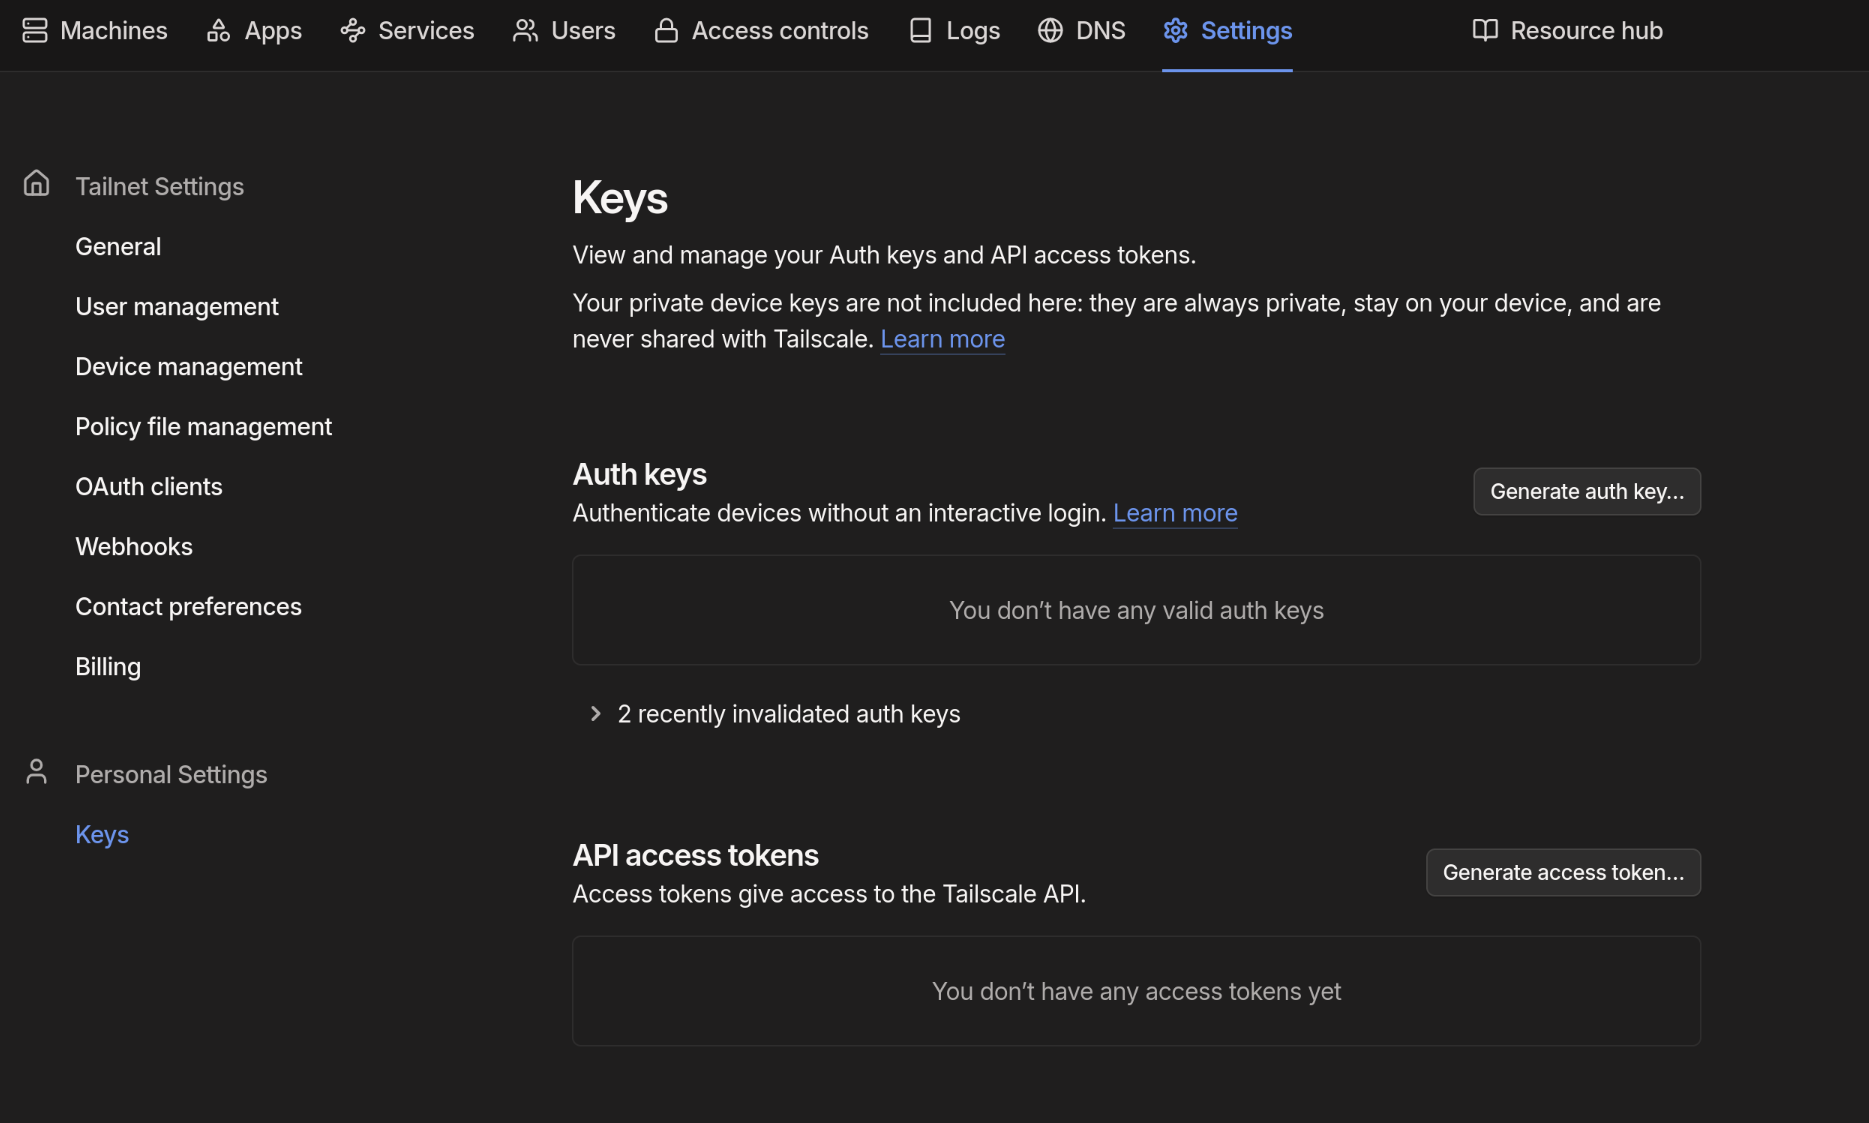
- This is generated via the Tailscale website. You’ll find the place to create them under the ‘Settings’ tab at the top, if you click on the ‘Keys’ entry under peronal settings. Simply generate a new one via the ‘Generate Auth Key’ button and give it quick description, otherwise using defaults for now.
Setting up the VyOS connection
Before jumping into config mode, we need to pull in the image so we don’t get any errors when setting things up. To do this, just issue the following command and it’ll be pulled from the standard container repositories:
add container image tailscale/tailscale:latest
Additionally we need to make a folder to store configs and state information from tailscale, this can be whatever you want but for simplicity tailscale and tailscale/state will work:
mkdir -p /config/telnet/state
With that, all the pre-config steps are done and we can dive into the config mode.
For starters, create the new container entry and enter into editing mode for it with:
edit container

set name tailscale image ghcr.io/tailscale/tailscale:latest

edit name tailscale

## your editor should look like: `[edit container name tailscale]`
From here we need to add a few container capabilities / allowances and the network configuration:
## replace container network name with your containers network and replace the IP with your selected IP
set network <container network name> address <container ip>

## Allow the container to create network interfaces, routing tables, and firewall rules
set capability net-admin

## Allow the container to create raw network sockets, this may not be strictly necessary but I believe the wireguard interface requires it
set capability net-raw

## We need to import the tunnel device into the container for it to create new VPN interfaces
set device tunnel source /dev/net/tun
set device tunnel destination /dev/net/tun

## Configure memory limits - optional but a good belt and suspenders
set shared-memory 128
set memory 512

## Allow the container to advertise routes to your local IP ranges of choice:
set environment TS_ROUTES value '<cidr notation networks comma seperated>'

## Set advertised hostname
set environment TS_HOSTNAME value vyos_ts
set hostname vyos_ts
Configure the volumes and related environment variables:
## set the state directory
set environment TS_STATE_DIR value /var/lib/tailscale

## configure the volume to connect the container folder to the config directory
set volume state destination /var/lib/tailscale
set volume state source /config/tailscale/state
And finally, configure the individual container settings for Tailscale, this is done purely with environment variables:
## Set Auth Key for the container, replace auth key with generated key from Tailscale interface
set environment TS_AUTHKEY value tskey-auth-<auth key>

## Enable or disable metrics
set environment TS_ENABLE_METRICS value true

## enable health checks
set environment TS_ENABLE_HEALTH_CHECK value true

## set the container extra arguements
## this will make the target and exit node, disable snat (making the Tailscale network routable and vis-versa)
set environment TS_EXTRA_ARGS value '--advertise-exit-node --accept-routes --snat-subnet-routes=false --stateful-filtering=false'
Once done, if you issue a show command, it should look something like this:
capability net-admin
capability net-raw
device tunnel {
    destination /dev/net/tun
    source /dev/net/tun
}
environment TS_AUTHKEY {
    value tskey-auth-<your authkey here>
}
environment TS_ENABLE_HEALTH_CHECK {
    value true
}
environment TS_EXTRA_ARGS {
    value "--advertise-exit-node --accept-routes --snat-subnet-routes=false --stateful-filtering=false"
}
environment TS_HOSTNAME {
    value vyos_ts
}
environment TS_ROUTES {
    value x.x.x.0/24,x.x.y.0/24,x.x.z.0/24
}
environment TS_USERSPACE {
    value false
}
host-name vyos_ts
image tailscale/tailscale:latest
memory 512
network CONTAINERNET {
    address x.x.x.x
}
restart always
shared-memory 128
volume state {
    destination /var/lib/tailscale
    source /config/tailscale/state
}
Configure Routing so devices are individually
As this setup is not using a nat / masquerade setup, we need to add a routing rule to allow being able to communicate out to the external Tailscale client devices. For this, we need to go back to the top level and set a static route to reach those devices.
### 100.64.0.0/10 is the ip range for tailscale devices; there are some gotchas for this
## you might need to move to ipv6 if you run into issue with this
set protocols static route 100.64.0.0/10 next-hop <container ip>
Firewall Considerations
Locally, I have my container network configured to allow access to all my internal networks, so I didn’t have to do anything exotic. However if your container network is more restricted, or you want an additional layer of restrictions, you could always add a zone rule from the container space to the destination spaces you want reachable vs. unreachable. Handling this is out of scope of this article as it’s more a fundamental feature of VyOS than a consideration of the Tailscale setup.
Adding a client device
This will be the same on all desktop clients, and roughly similar for mobile devices. First you need to install the client for the relevant OS, this is covered thoroughly in the official documentation here. Skip logging in as it’s not necessary for this.
After that, you’ll need to make a key on the Tailscale site itself, this can be done from the ‘Settings->Keys’ page of Tailscale once logged in. Or directly from. Select ‘Generate Auth Key’, give it a description, and optionally add a tag for access control (detailed below).
Once you’ve got these parts done the last step is invoking the Tailscale CLI from your commandline of choice. If adding somebody else to your tailscale network you’ll need to send this auth key to them, I recommend using a secure sharing solution for that and not configuring automatic approval or key reuse.
A quick login command will get the individual device setup:
tailscale login --auth-key=<auth key>
At this point the client is joined and everything else needs to be handled from the Tailscale management page. The key will need to be approved from the machine administration page for instance.
Controlling Access
This is done fully via the Access Controls page.
First you’ll need to make Tags for the types of devices you want to classify, an easy starting point is simply ‘Friends’ and ‘Personal Devices’. Once that’s done you can start configuring access to things. These can then be added to the machines on the main ‘Machines’ page by clicking the ellipses next to a machine (the ... to the right) and selecting Edit ACL Tags.
After that you’ll need to create an ipset for any IPs that you want these new devies to be able to reach. Add any IPs you want to be able to reach remotely to an ipset. Simply naming it remote-access is straight forward enough for purposes here.
Once created you can start assigning attributes and behaviors to things in the Access Rules page. The default rule allows all traffic to all devices and should be removed if that’s not your goal. Then add a new rule with a source of tag:friends, and a destination of ipset:remote-access and save the rule. This will prevent machines from the ‘friends’ list from accessing anything you don’t include in the list. For ease of use, adding a rule that allows all access for devices listed as tag:personal-devices and assigning the tag to your VyOS install ensures it can communicate with everything on the network.
The json representations of these two configs would be:
// access allows for friends coming in from Tailscale
{
 "src": ["tag:friends"],

 "dst": [
  "ipset:remote-access",
  "tag:personal-devices",
 ],

 "ip": ["*"],
}

//and

// personal devices are allowed everywhere
{
 "src": ["tag:personal-devices"],
 "dst": ["*"],
 "ip":  ["*"],
}
And at that point, you are set up, things should ‘just work’ and if they don’t then you’ll have to dig into the specific rules and allowances you’ve configured.
Alternatives and Digressions
Generally speaking, while the above is a bit complicated to initially groc, it works very very well. It does mean porting some responsibility out to a third party however, so if that’s a concern, falling back to Wireguard or Headscale are definitely options.
Just Join Everything to Tailscale
This is doable, and if the device limit isn’t a concern you can absolutely do this. For my specific usecase I wanted Tailscale to be a ‘portal’ to my home network, not a NAT bypass for my local security controls. So instead of joining everything to a network that VyOS can’t distiguish against, I opted for a solution that allows anything on my local network to potential talk to a Tailscale client if need be. This also allows it to work transparently with docker containers as they do not need to be explicitly told to talk to the Tailscale network, they’re just responding to a request in the 100.64.0.0/10 IP range.
Use Headscale Instead
This would eliminate the limitations on device counts and the limitations on users, making it easier for people to join, they can simply authenticate rather than needing you to send a key to them. However you would then need to house Headscale somewhere, either in a virtual server out on the internet or internally with port forwarding and an fqdn. That doesn’t really eliminate any work in this case compared to just using Tailscale if its restrictions aren’t a problem for you.
Just Suck it up and use Wireguard
No.
As noted at the top, I did actually try this at first, but trying to get people that are potentially less technical or knowledgable of the networking configs required to make this work took that off the table. Being able to give somebody an auth key then handle all the routing config and acls yourself without having to remote into their machine or screen share is a huge improvement in time spent. I still use Wireguard for my personal devices but for allowing my parents to stream Jellyfin from my NAS directly to their AppleTV? This is trivial in comparison setup wise.
Read more: